| Number | Name | Description |
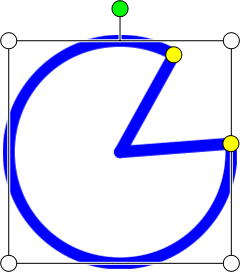
| 1 | Rotation handle | By grabbing the rotation handle, you can rotate the Compass without drawing an arc. |
| 2 | Close button | Click on this button to close the Compass tool. |
| 3 | Angle display | The angle of the Compass tool is displayed in the “Angle display” area. |
| 4 | Radius display | The radius (the distance between the needle and the pen) is displayed in the “Radius display” area. |
| 5 | Change radius | You can change the radius (the distance between the needle and the
pen) by grabbing the Radius handle and pulling the Compass arm. |
| 6 | Draw arc | By grabbing the Compass's pen handle, you can draw an arc on the whiteboard
area. |
 /
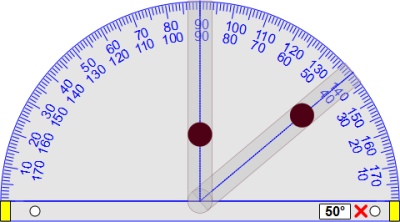
/  to adjust the size of the protractor.
 to rotate the protractor.
 to point to the area you want to measure. The angle will be displayed in the white box.
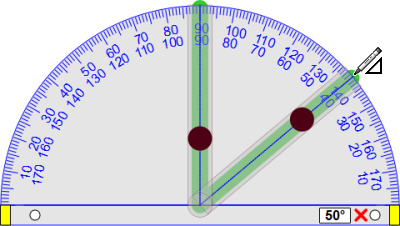
 .
.
 /
/  to adjust the size of the ruler.
  to rotate the ruler.
 to point to the area you want to measure. The length between the
two adjustable measuring lines will be displayed in the white box.
to point to the area you want to measure. The length between the
two adjustable measuring lines will be displayed in the white box.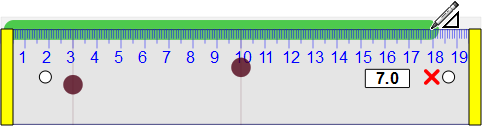
 .
.
 /
/ :
: 
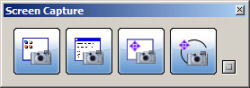
 (Show Options), and change the option settings, if necessary.
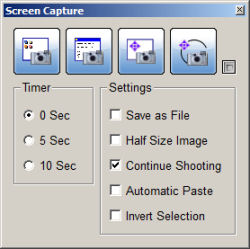
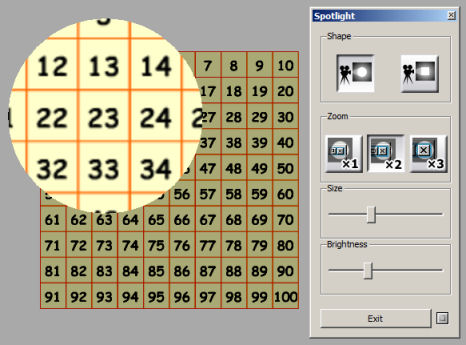
 (Desktop Capture) : Captures the entire desktop.
 (Window Capture) : Captures the selected window.
 (Drag-select Capture) : Captures the rectangular area specified with the Pen.
 (Freehand Capture) : Captures the area surrounded by a freehand line.
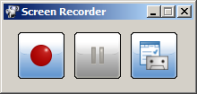
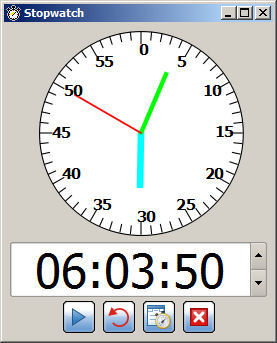
 (Start recording) : Starts recording events that occur on the screen.
 (Pause recording/Resume recording) : Pauses or resumes the recording.
 (Stop recording) : Stops the recording.
This button appears when the recording has started.
(Stop recording) : Stops the recording.
This button appears when the recording has started. (Settings) : Allows you to specify settings for the screen recording
session, such as a folder where the video files will be stored.
(Settings) : Allows you to specify settings for the screen recording
session, such as a folder where the video files will be stored.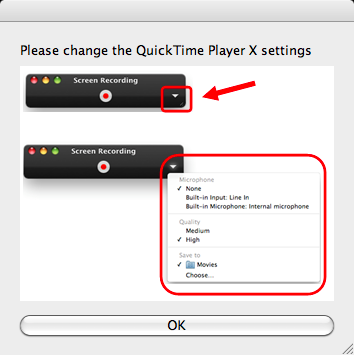


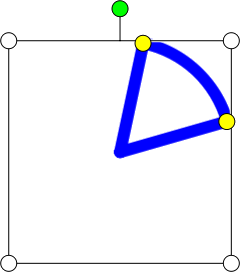
 and you can drag the handles to change the size and angle of the arc.