Web Image Search
The Web Image Search feature allows you to search the Internet for images. You can use these images in your whiteboard presentations.
This feature requires an active Internet connection. It is based on
Google Images™ search service, and uses the highest level of SafeSearch.
Note: Please be aware that any image you capture from the Internet is copyrighted material, and you should use it with respect.
Note: You may need to define HTTP proxy settings for your connection to the Internet. See Proxy settings for further information.
Opening the Web Image Search tab
In the Gallery, click on the Web Image Search tab:

This displays the following controls in the Gallery (a drop-down list and Start search button):

Using the Web Image Search feature
You can perform the following operations using the Web Image Search feature:
Define a search
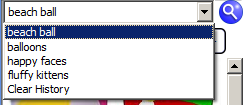
At the top of the Gallery, there is a drop-down list and entry
field that can be used for text entry or for selecting any of your
previous image searches:

To start a new search, type your search text in the text entry field and click on the Start search button, or press Enter on your keyboard:

Re-using a previous search
To re-use a search that has been performed before, click on the drop-down arrow and select from the history list.
This history list will hold up to 20 of the previous image searches that were performed.
Clearing the previous searches from history
If you wish to clear the history list, click on the Clear History option in this drop-down.
Browsing through the search results
To move between pages of image search results, you can click on the page numbers or the left and right arrow buttons:

The page number button of the page you are currently viewing is coloured so you can distinguish it from the others.
Image dimension display
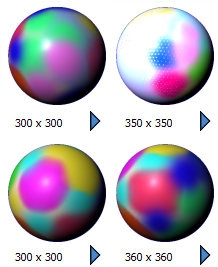
Each image thumbnail is displayed with an arrow button and details of the image's dimensions (width x height in pixels):

Web address (URL) display
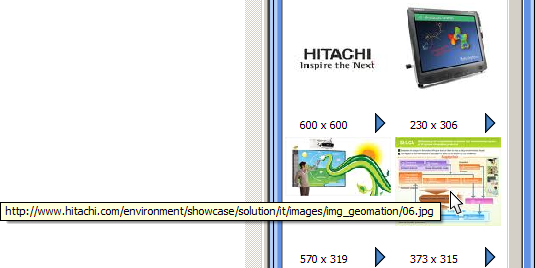
Each thumbnail will display its Web address (URL) in a pop-up when you hover the pointer over it:

This allows you to see the name of the website before you copy an image.
Arrow button menu
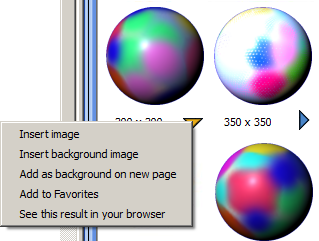
Clicking on the arrow button will display a menu with various options:

These options are as follows:
-
Insert Image - This option inserts the original-sized image into the centre of the whiteboard's editable area.
-
Insert Background Image - This option inserts the full-sized image into the centre of the whiteboard's editable area, on the background layer.
-
Add as Background on New Page - This option inserts
the full-sized image into the centre of the whiteboard's editable area,
on the background layer, on a new page.
-
Add to Favorites - This option adds the image to the Favorites folder in the Gallery (see Managing your favorite pictures).
-
See This Result in Your Browser - This option opens the full-sized image with your computer's default Web browser.
Other ways to transfer an image to the whiteboard
-
Using drag and drop: You can
drag and drop any of the thumbnails to the whiteboard's editable area.
This will place the full-sized image into the whiteboard area. It is
also possible for you to drag and drop an image directly from your Web
browser (note that in Internet Explorer this will not work on Windows unless you uncheck the Enable Protected Mode option in Internet Options > Security > Security level for this zone).
-
Using double-click: You can double-click any of the thumbnails. This will place the full-sized image into the whiteboard area.


