Plug-ins
Plug-ins - small programs that will work with your
StarBoard software - are available from Hitachi Solutions or other
vendors.
You will need to install each plug-in before you can use it with your
StarBoard software. StarBoard plug-ins are distributed in the .plgz
file format.
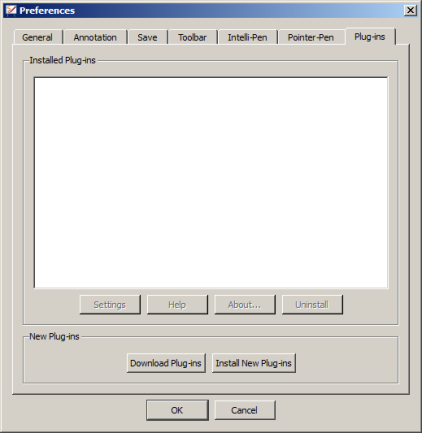
To open the plug-in management dialog, select the Plug-ins... option in
the Settings menu.

Downloading a plug-in
-
To browse for a plug-in on the Internet, select the Download Plug-ins button.
The StarBoard plug-in web page will be displayed in your computer's browser.
-
You can download the plug-ins you need from this
web page. After you have downloaded them to your computer, you will
need to install them.
Installing a plug-in
-
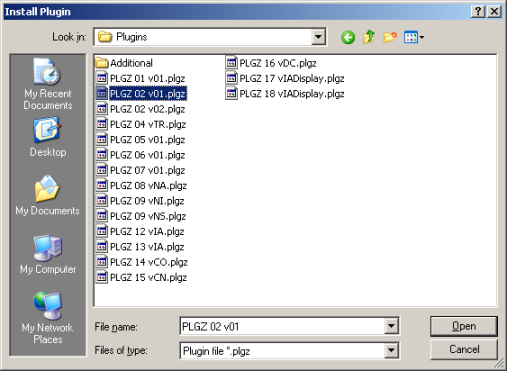
To install a plug-in, select the Install New Plug-ins button.
A file browser window will open to allow you to find the plug-in files on your computer:

-
Select the appropriate .plgz file and select Open.
-
When the plug-in has installed successfully, a
message will prompt you to close down and restart your StarBoard
software. Select Close to close down the dialog.
-
When the software has been restarted, the new plug-in will be displayed in the list of installed plug-ins.
-
If the new plug-in has some settings or some information associated with it, the Settings and About buttons will be enabled.
You can select the Settings button to adjust settings for the plug-in. Please refer to the instructions included with the plug-in for further information.
You can select the About button to view any information that has been included with the plug-in.
This information may include basic instructions and the publisher's copyright details.
After installation, the plug-ins will be available for selection in the Tools menu.
Alternative method of installation
Alternatively, you may also install a plug-in by
looking for the .plgz file with your computer's file browser (such as
Windows Explorer on Windows) and double-clicking on the file.
You do not need to have the StarBoard software running if you use this method.
This action will automatically attempt to install the plug-in.
A message will be displayed to inform you about the results of the
installation. You will be prompted to close down and restart your
StarBoard software.
After installation, the plug-ins will be available for selection in the Tools menu.
Uninstalling a plug-in
You may wish to uninstall (remove) a plug-in because you no longer use it or because you would like to install a newer version.
-
To uninstall a plug-in, first select the plug-in from the Installed Plug-ins list in the plug-in management dialog.
-
Select the Uninstall button.
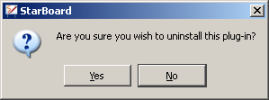
- A confirmation message will be displayed:

-
Select Yes to uninstall the plug-in.
In the Installed Plug-ins list, the plug-in will be marked as Deleted.
- Select Close to close down the dialog. You must close down and restart your StarBoard software for the plug-in to be removed from the list.
-
When the software has been restarted, the plug-in will not be shown in the list of installed plug-ins.


